In a previous article, we were already questioning the omnipresence of artificial intelligence and the way it has gradually taken over entire fields: from software engineering to creative writing, through digital marketing, and of course, video game development.
The idea of generating graphical assets with AI and integrating them into games is not new. As soon as we became able to generate images, or even videos, from simple prompts, the question naturally arose: why not directly generate sequences that could be used inside a video game?
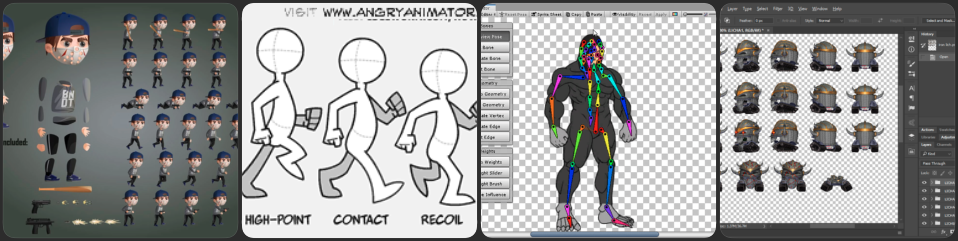
At Coding Park, this question did not come up as a theoretical discussion. It emerged very concretely through our workshops and interactions with students. When working on games, you quickly realize that even a simple 2D video game usually involves a whole chain of skills: character design, 2D animation, integration, development… A heavy process, even for modest projects.
Naturally, AI then appears as a potential shortcut.
AI alone is not enough.
That’s when we started experimenting with tools based on large language models (LLM) to generate short video sequences.
The idea is simple: start from a single image of a character, ask the AI to generate a short animation (around five seconds), and then extract frames from the generated video to serve as the basis for game assets.
Said like that, it sounds obvious. In practice, however, it requires… a method.
Quite quickly, we realized something important: yes, AI can generate high-quality animations. But no, it does not automatically produce something that can actually be used in a game. The unpredictable nature of LLMs, partial prompt compliance, unwanted deformations – all of this leads to inconsistent sprites, varying sizes, broken animation loops, and backgrounds that are difficult to handle.
Very quickly, you run into the very concrete constraints of game development.
Method Before Tools, Not the Other Way Around
It soon became clear that a number of constraints must be respected, starting from the prompt itself and continuing throughout the entire pipeline, in order to obtain an animation that is truly usable. Without a clear framework, results are random and hard to reuse.
This synthesis work, built progressively through testing and hands-on workshop practice, is what we decided to formalize in a public GitHub repository. In it, we document a complete approach for using AI in a meaningful way to create 2D assets for real games, with real technical constraints.
Putting the process into words
This repository is not meant to be a magical tool or an industrialized solution.
It is a recipe in the simplest sense of the word: a sequence of steps we follow to produce an animated sprite that is truly usable in a 2D game. To achieve this, we rely on accessible tools such as FFmpeg and ImageMagick, easily operated from the command line.
The repository is designed as a working support:
for our workshops
for autonomous students
for teachers and instructors
for anyone curious about how to go from an idea to a usable spritesheet
A concrete example: Chipset
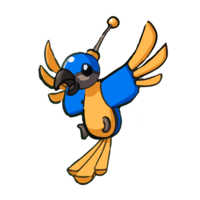
Rather than staying abstract, we chose to walk through the method using a concrete example: the animation of the character Chipset.
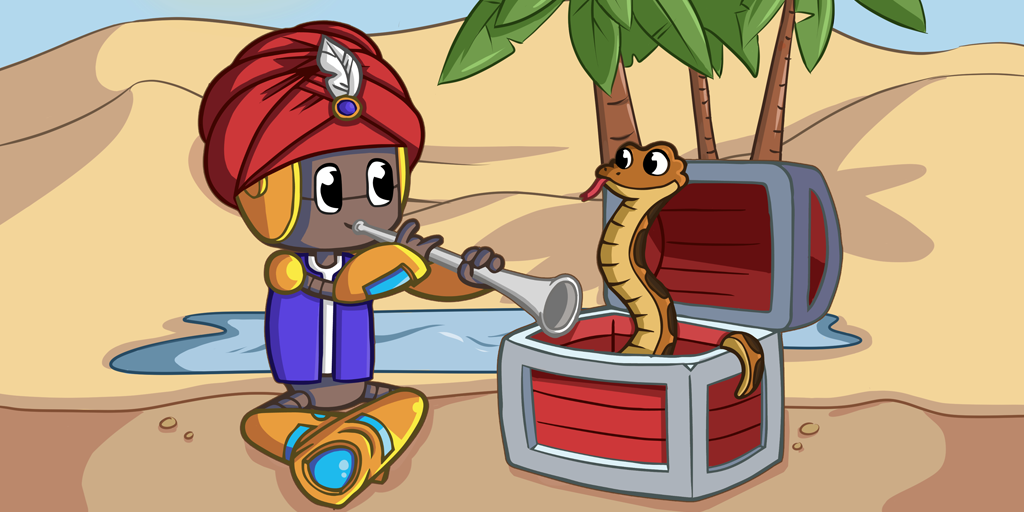
Chipset is a robotic parrot, a character from Coding Park’s game Golden Quest. He guides Cody to the locations of hidden treasures. Deep within his damaged circuits, he holds an ancient skill: the ability to code… without AI 😉
The README walks through the entire process step by step, almost like a tutorial, explaining at each stage what we do, and why we do it.
1. AI prompt used to generate the animation
We start by asking the AI to generate a short looping animation from a single still image of the character.
Animate this parrot hovering in place in a cartoonish style. He floats gently as if flying in place moving his wings up and down, as if stabilizing himself in the air. Keep it fun, playful, and cartoon-style. Make the loop seamless for reuse as an idle flying animation.2. Extract frames from the generated video
Once the animation is generated, we extract individual frames from the video so they can be processed and reused as sprite images.
ffmpeg -i examples/chipset/02_ai_videos/chipset_fly.mp4 -vf "fps=12" examples/chipset/03_frames_raw/frame_%04d.pngTip: 8–12 fps is often enough for a smooth loop.
3. Resize the frames
Next, we resize all extracted frames to a consistent height so that the final animation keeps uniform proportions inside the game.
mogrify -path examples/chipset/04_frames_resized -resize x240 examples/chipset/03_frames_raw/frame_*.png4. Remove the background
We then remove the white background to make the character transparent and ready to be placed over any in-game environment.
mogrify -path examples/chipset/05_frames_clean -fuzz 10% -transparent white examples/chipset/04_frames_resized/frame_*.pngIf you notice a white halo, smooth the edges to clean up the contour of the sprite:
mogrify -path examples/chipset/05_frames_clean -fuzz 10% -transparent white -morphology Erode Disk:1 examples/chipset/04_frames_resized/frame_*.png5. Select the best frames
At this stage, we manually review the cleaned frames to keep only those that form a smooth and consistent animation loop.
You can use a free tool like TexturePacker for this step.
Manual step:
- Import
examples/chipset/05_frames_clean/*.png - Preview the animation
- Keep the best 12 frames
- Export the individual PNGs to
examples/chipset/06_frames_selected
6. Export a spritesheet
Finally, we combine the selected frames into a structured grid (a spritesheet) so they can be easily loaded and animated inside the game engine.
magick montage examples/chipset/06_frames_selected/*.png \
  -background none -alpha set \
  -tile 3x4 -geometry +0+0 \
  examples/chipset/07_spritesheets/spritesheet_3x4.png
A final pass in GIMP (or any other image editor) allows for small adjustments before integrating the spritesheet into Python code.
A Practical Learning Framework
What interests us most in this approach is not the final result, but the path taken to get there. Indeed, a student who follows this recipe understands:
what a frame is
why an animation must loop
how to post-process images
how to build a spritesheet
how to integrate it into a Python program
Thanks to AI, the asset creation and 2D animation phase is significantly accelerated. But understanding remains central.
It’s not perfect, and that’s the point
We do not claim that this approach is universal, industrialized, or effortless. It requires a minimum of rigor, a few tools, and above all, the desire to understand what you are doing.
In return, it allows you to regain control over asset creation, using AI and image-processing tools in a meaningful way rather than relying on copy-paste solutions.
Conclusion
We have built a practical and accessible approach that uses artificial intelligence as an efficient means to speed up the creation process. This is the approach we apply within Coding Park Academy, where students learn Python through Pygame-based video game projects. They refine their own assets, upload them into the Web IDE, and wire them into the game loop themselves.
As always, the rest happens through practice.